Menu
Call This Thursday Get $50 Off Today
24 Hour Services
7 Days a Week
Call This Thursday Get $50 Off Today
24 Hour Services
7 Days a Week

Delta kitchen faucet leaking is very common. You can call in the plumber in Los Angeles, CA or you can fix it yourself. The latter will take some time and need some effort but you will save money. Do not ignore any level of Delta kitchen faucet leaking as even a slight leak can lead to wastage of more than three gallons in a day. Not only is that sheer wastage of perfectly clean water, it also leads to an unnecessary spike in your water bill.
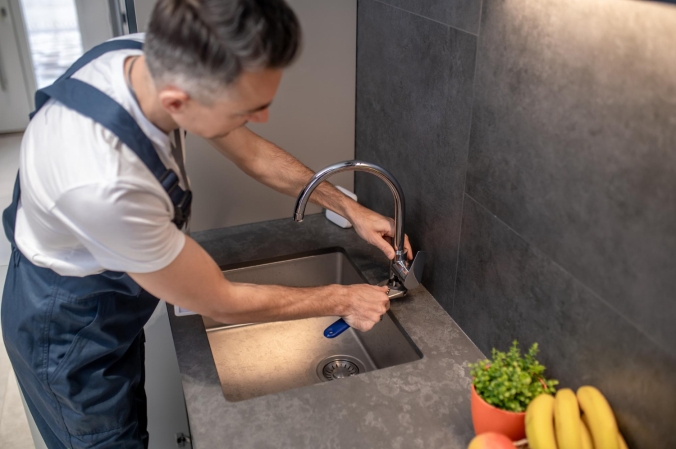
Most Delta kitchen faucet leaking is caused by damaged springs and seats. To fix the problem, you will need needle nose pliers, a 1/8 inch wrench, tongue and groove pliers, screwdriver and new parts to replace the old ones. Here are the steps to fix Delta kitchen faucet leaking.
The valves would be under the sink. Turn the faucet on and allow the water to drain out of the pipe. Remove the screw cover on the handle, use a wrench or screwdriver to unscrew the cover. Lift the handle and you would find the adjusting ring with the cap. You would be able to check the adjusting ring and gauge if it is tight enough. If not, then the leak could be caused by a loosened adjusting ring. Use the needle-nose pliers to tighten the ring and check if the leaking has stopped. If not, then you must check the springs and seats.
You can just unscrew it. Unscrew the cap. The cap is usually dome-shaped and can be removed using tongue and groove pliers. Use a cloth to get a better grip. Unscrew it but make sure you don’t exert too much force. The cap will bend under extreme pressure.
You will find the metal stem, which is usually round. There is a ball inside that must be removed. You can replace the old and worn out cam and packing. If the leak is caused by this then the problem will be resolved. Else, you need to remove and replace the seats and springs.
The seat is the circular part in the valve and spring is what’s underneath the seat. Take the wrench and you can remove the seats and springs. Get a new pair of springs and seats, insert them into the holes and use the wrench to put them firmly in place. Get a new ball assembly, align the pin as well as the valve with the slot of the ball, replace the cam and packing, reinstall the valve cap and adjusting the ring. Reassemble the handle.
A kitchen stays busy all day. When something slows down the flow of…
A good look inside a drain line tells you the truth faster than…
A sewer line problem interrupts daily life quickly. Rooter Guard sees this…
A plumbing system reaches a point where repairs stop making sense. Many homeowners…
A dead disposal can bring a busy kitchen to a stop. When that…

Water pressure can make or break your plumbing experience… almost literally. Low water pressure can make washing pots and pans a nightmare, and high water pressure can push water through joints and crevices before causing a burst pipe. Water pressure problems are sneaky and often start small, but they usually…
Learn More


