Menu
Call This Friday Get $50 Off Today
24 Hour Services
7 Days a Week
Call This Friday Get $50 Off Today
24 Hour Services
7 Days a Week

If your hot water tank is leaking from the drain valve, you’re dealing with a pretty common plumbing headache. That means you can count on a pretty straightforward solution. Draining the water heater during normal maintenance measures can sometimes cause the drain valve to begin leaking. The valve can be quite old. If it hasn’t been utilized in a while, then simply using it can cause some leaks.
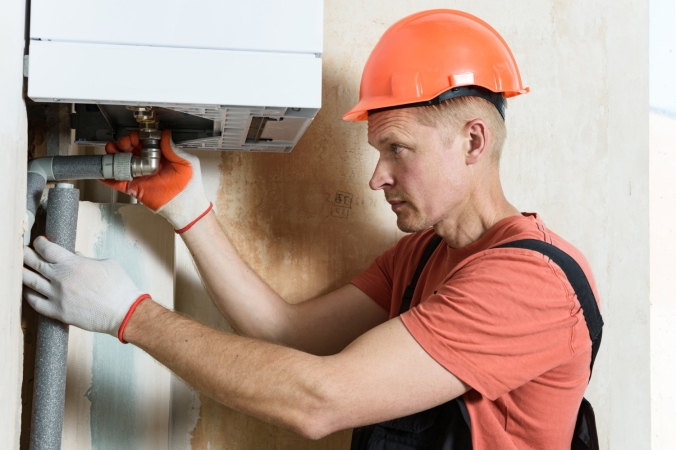
Regardless of the specific reason, there are several things you will want to do.
In some cases, you can actually use a patch to deal with your more minor leaks. Simply capping the area with a hose cap, you can stop your water from leaking.
However, in most cases, and certainly for the sake of the long term, it’s better to have the drain valve replaced entirely:
• The first thing you are going to want to do is have the water tank drained of water.
• Once your water heater has been drained absolutely, have your leaky drain valve removed. You can do this by unscrewing it in a counter-clockwise fashion, utilizing a pair of pliers. If you want, small pipe wrenches can be effective, as well.
• When it comes to replacement valves, you essentially have two options. Brass hose bibs with short iron pipe nipples are a good possibility, but you can honestly do better than that. Full port ball valves are considered to be a better replacement, as they allow for much faster drains. Furthermore, they rarely fall apart.
• Applying Teflon tape and pipe-joint compound to your threads on your brand-new valve, you will now want to have everything firmly screwed into place.
• You will now want to begin screwing your brand-new drain valve into position. Additional tightening might be required, in order to ensure everything is facing the proper direction.
• The final stage involves testing things out for leaks. You will be able to determine this by refilling the water tank. If the leaks do not occur, then you are probably in the clear. However, in order to make sure the solution has been successful, you will want to check back. Make it a point to check back a few times, over the course of the next 24 hours. From there, you will only need to check one or two more times a day, over the course of an additional twenty-four hours. If the leaks still haven’t appeared, you should be all set.
A kitchen stays busy all day. When something slows down the flow of…
A good look inside a drain line tells you the truth faster than…
A sewer line problem interrupts daily life quickly. Rooter Guard sees this…
A plumbing system reaches a point where repairs stop making sense. Many homeowners…
A dead disposal can bring a busy kitchen to a stop. When that…

Water pressure can make or break your plumbing experience… almost literally. Low water pressure can make washing pots and pans a nightmare, and high water pressure can push water through joints and crevices before causing a burst pipe. Water pressure problems are sneaky and often start small, but they usually…
Learn More


