Menu
Call This Thursday Get $50 Off Today
24 Hour Services
7 Days a Week
Call This Thursday Get $50 Off Today
24 Hour Services
7 Days a Week

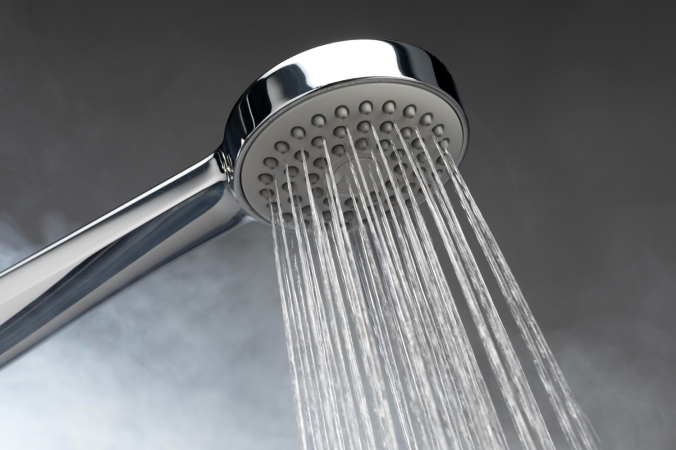
A dripping shower head can be both frustrating and expensive because not only can it keep you awake at night but it can also leave you with high utility bills. Moreover, it can leave marks or stains of rust near the drain if left unrepaired for a long time. While it can be fixed by simply tightening the head shower at times, this is not the case in most situations. First, you have to determine what is causing the leak. It can be the showerhead itself or a faulty shower valve. Once you have identified the problem, you can now prepare and repair the dripping shower head.
Look for the main water valve and turn it off. Once the water valve is off, turn on the shower to ensure no water remains in the pipe.
Remove the shower head for inspection. Do this by unscrewing the shower head with your hands unless it is impossible to remove it manually. If this is the case, use pliers or a wrench to remove it. Check inside the thread in the showerhead and look for a small washer made in plastic or a rubber O-ring. If the O-ring is damaged, you might need to replace it.
Take the showerhead and give it a good clean. The mineral deposits and sediment build up that have resulted from years of use might have decreased water flow. Do this by mixing three cups of vinegar with water and boil the mixture. Let the showerhead sit in the pot for about 30 minutes. Next, scrub it using an old toothbrush to clean the inside and outside jets. Rinse it with water and soap.
If the O-ring is not damaged, you can use it again. Get a Teflon tape and wrap the thread of the pipe stem with it. This is important to ensure it fits when you screw the pipe stem back and no leaks will result from it.
Replace the showerhead by hand with a clockwise movement. Continue to rotate it until it becomes slight tight. After, get the pliers to turn it one last time. Be careful not to force it so as not to break the pipe or showerhead.
Turn on the main water valve and let the shower run for several seconds then turn it off. Check if the dripping shower head problem is already fixed.
A kitchen stays busy all day. When something slows down the flow of…
A good look inside a drain line tells you the truth faster than…
A sewer line problem interrupts daily life quickly. Rooter Guard sees this…
A plumbing system reaches a point where repairs stop making sense. Many homeowners…
A dead disposal can bring a busy kitchen to a stop. When that…

Water pressure can make or break your plumbing experience… almost literally. Low water pressure can make washing pots and pans a nightmare, and high water pressure can push water through joints and crevices before causing a burst pipe. Water pressure problems are sneaky and often start small, but they usually…
Learn More


