Menu
Call This Thursday Get $50 Off Today
24 Hour Services
7 Days a Week
Call This Thursday Get $50 Off Today
24 Hour Services
7 Days a Week

A copper pipe will corrode or leak and will even burst from freezing. When this happens, you have to act quickly. The amount of work you will do depends on the size of the leak. For example, a pinhole-sized leak requires less than ½ inches of pipe to be removed. To repair this kind of damage, you will have to cut the pipe then solder (also called “sweating”) an ordinary pipe coupling.
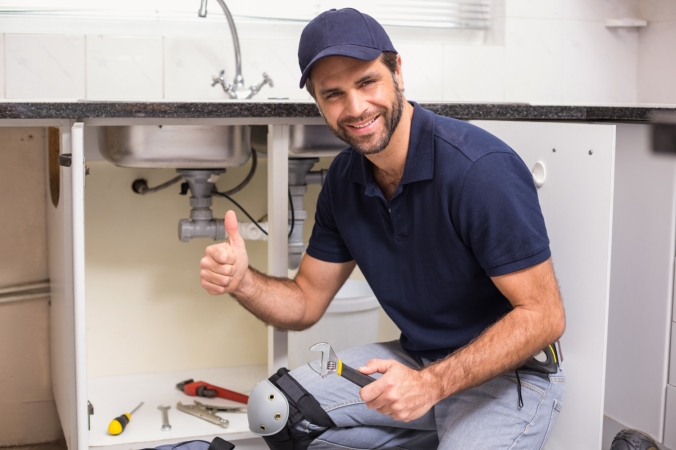
However, when you need to repair longer sections, you have to purchase a “sweat” coupling which can be found in many home centers or well-stocked hardware stores. There is even sweat coupling available for leaks that are 1/2-inch or 3/4-inch wide.
When fixing the pipe, you need to mark the leak first, as well as shut the main water valve and drain the pipe that is affected. Remove the damaged section then measure the gap. Cut a repair piece from the sweat coupling that is an inch longer than the damaged section.
A good solder is achieved by keeping the insides of the pipe dry. You can ensure this happens by stuffing a cotton rag in each pipe. This way, the rag can absorb the dribbles of water until you are ready to solder. You can also prevent the pressure from building up and running more water into the area you’re repairing by opening a faucet above that level.
Before we proceed with a step-by-step guide on how to fix a leaky copper pipe, here are some tools and materials you need:
Step 1: Remove The Pipe That Is Damaged
As mentioned earlier, you have to shut off the main water supply valve before you cut a pipe. After shutting the supply down, you have to drain the damaged water line before proceeding.
With a pipe cutter, remove the part of the pipe that is damaged. Make sure to extend about one inch to each side of the leak. To do this properly, follow the steps below:
Step 2: Clean Corrosion
Using a wire fitting brush, clean corrosion inside the repair sleeve. Don’t neglect the outside as well: clean it by using plumber’s in Los Angeles, CA sandcloth or emery paper. After you’ve done all that, brush flux on all cleaned surfaces.
Step 3: Slide a Repair Sleeve
Slide the end of the sleeve over one pipe before slipping it onto the other. Take note that you might have to loosed pipe hangers nearby. Center the sleeve over the ends of both pipes and make sure that there is about ½ inch of each pipe inside the sleeve.
Step 4: Start Soldering
Make sure the torch flame is on one side of the joint while you hold the tip of a solder wire on the opposite side. Pull the solder away when a sufficient amount has melted that is enough to cover the joint.
Plumbing Service Provider
A kitchen stays busy all day. When something slows down the flow of…
A good look inside a drain line tells you the truth faster than…
A sewer line problem interrupts daily life quickly. Rooter Guard sees this…
A plumbing system reaches a point where repairs stop making sense. Many homeowners…
A dead disposal can bring a busy kitchen to a stop. When that…

Water pressure can make or break your plumbing experience… almost literally. Low water pressure can make washing pots and pans a nightmare, and high water pressure can push water through joints and crevices before causing a burst pipe. Water pressure problems are sneaky and often start small, but they usually…
Learn More


