Menu
Call This Thursday Get $50 Off Today
24 Hour Services
7 Days a Week
Call This Thursday Get $50 Off Today
24 Hour Services
7 Days a Week

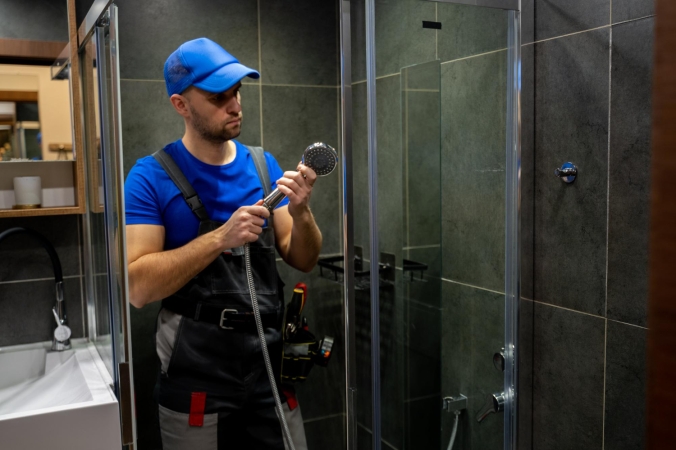
The saying, “When it rains, it pours”, can actually become a reality in our home, especially in areas where water is used—the kitchen and the bathroom. As for the latter, one of the usual leak problems we encounter is a leaky shower valve. If you are in facing such a situation, here are the steps that you can take:
1. Secure the tools and items that you will need for the task, which include a vice grip, Philips screwdriver, flat-head screwdriver, jar gripper, rag, and bath and tub caulk.
2. Before you start working on any piece of your shower, locate first the water shut off valve and turn off the water supply to the bathroom. Afterwards, turn the water in the tub on to drain any remaining water inside the pipes.
3. Locate the set screw of the faucet handle, where it is sometimes exposed and also concealed, and you have to pry the center of the handle to access it. You can use a flat-head screwdriver for this task.
4. After removing the screw that holds the handle, pull off the handle. Then, unscrew the escutcheon, which is the collar fitting against the wall. By the way, this step is very easy that even your child can help you with it. However, if the escutcheon is stuck on tight, you can use your jar gripper to cover it and then use the pliers to loosen it without damaging the metal.
5. After removing the escutcheon, the stem will be exposed, so you will now be able to position the pliers over the rear nut and turn the stem counterclockwise to make it loose. If you have the stem hex nut recessed into the wall, it is necessary to use a stem wrench in order to reach into the wall. Make sure that you have a rag in hand to shove into the hole when you remove the stem to prevent any remaining water to drip into the wall cavity.
6. Having removed the old stem, take the piece to the hardware store or plumbing supplier to purchase a new one that is identical to it. Usually, this component has two washers, with one around the threaded portion and one at the end. In some cases, you can just replace the washers, but new stems are not so expensive, so it is best to replace the whole unit.
7. Thread the new stem into the wall in a gentle manner and do not force it or you could damage the plumbing threads. As much as possible, just hand-tighten the stem, though it is a standard to use pliers, and then reuse the threaded tube from the old stem.
8. Thread the old escutcheon back on, but be careful not to over-tighten it or you would crack your tile. Spread a thin layer of caulk on the connection between the escutcheon and the wall and then replace the handle assembly.
9. Turn the water back on to test if the leak the leak is fixed.
By following these steps, the task of fixing a leaky shower valve can be easy, sans the amount of money you could have spent on a professional.
Plumbing Services
Contact
A kitchen stays busy all day. When something slows down the flow of…
A good look inside a drain line tells you the truth faster than…
A sewer line problem interrupts daily life quickly. Rooter Guard sees this…
A plumbing system reaches a point where repairs stop making sense. Many homeowners…
A dead disposal can bring a busy kitchen to a stop. When that…

Water pressure can make or break your plumbing experience… almost literally. Low water pressure can make washing pots and pans a nightmare, and high water pressure can push water through joints and crevices before causing a burst pipe. Water pressure problems are sneaky and often start small, but they usually…
Learn More


