Menu

Call This Thursday Get $50 Off Today
24 Hour Services
7 Days a Week
Call This Thursday Get $50 Off Today
24 Hour Services
7 Days a Week
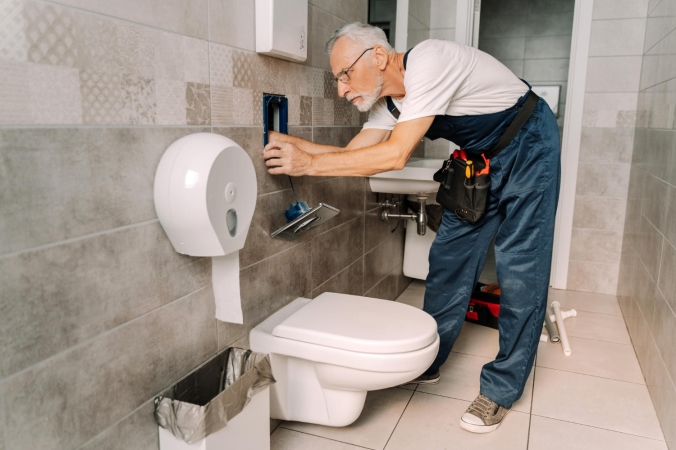
Fixing a leaky toilet tank is one of the most common plumbing repair jobs that you can DIY. Most of the time, you can do it by replacing the gaskets placed around the tank bolts and the spud washer, which are components that can deteriorate and fail over time due to minerals in hard water. Before you start anything, you should secure necessary tools and materials, including an adjustable wrench, screwdriver, sponge, small wire brush, rag, white vinegar and, of course, a new spud washer and replacement tank bolt gaskets. Now, follow these steps:
1. Turn off the water supply by turning clockwise the shutoff valve that is found below the tank.
2. Drain the tank completely by flushing the toilet and soaking up any remaining water in it using a sponge.
3. Hold one of the tank bolt nuts located on the underside of the tank using an adjustable wrench.
4. Loosen and unscrew the tank bolts inside the tank with a screwdriver.
5. Remove the tank from the bowl and lay it down in a safe place inside the bathroom or in another area of your house. You might need help from another person for this step.
6. Take out the old spud washer, and if it does not budge, try using your wrench to get it to turn.
7. Insert the new spud washer and tighten it over the spud nut.
8. Remove old bolts and gaskets and then clean the areas around the holes on the tank. To scrape off any old gaskets that might remain stuck inside and outside the tank, you can use the wire brush. Remember that you need to make sure the surface on which the new gasket will seat is clean for a proper seal.
9. Place the new gaskets onto the bolts and see to it that they are firmly seated.
10. Insert the bolts through the holes in the inside part of the bottom of the tank. On the underside, reinstall the nuts onto the bolts, gently tightening them by hand until they are snug.
11. Re-install the tank on the bowl. Alternating side to side, tighten the bolts and nuts until the gaskets look like they are evenly and properly seated. For this step, remember not to over tighten the bolts to avoid cracking the tank.
Aside from these general steps, your repair plan for a leaky toilet tank can also focus on the area where the leak specifically occurs. Typically, water leaks springs from the water supply line, tank-bowl assembly and the flapper. If one of these is your situation, then you can fix it with just a few inexpensive parts. For the tools, you will need the following: adjustable wrench, ball-cock assembly, bolt assemblies, tank-to-bowl gasket and sponge.
When the tank itself has cracked causing the leak, the only solution is to replace it entirely.
Plumbing Services

Plumber in Woodland Hills, CA

A kitchen stays busy all day. When something slows down the flow of…

A good look inside a drain line tells you the truth faster than…

A sewer line problem interrupts daily life quickly. Rooter Guard sees this…

A plumbing system reaches a point where repairs stop making sense. Many homeowners…

A dead disposal can bring a busy kitchen to a stop. When that…
Water pressure can make or break your plumbing experience… almost literally. Low water pressure can make washing pots and pans a nightmare, and high water pressure can push water through joints and crevices before causing a burst pipe. Water pressure problems are sneaky and often start small, but they usually…
Learn More