Menu
Call This Thursday Get $50 Off Today
24 Hour Services
7 Days a Week
Call This Thursday Get $50 Off Today
24 Hour Services
7 Days a Week

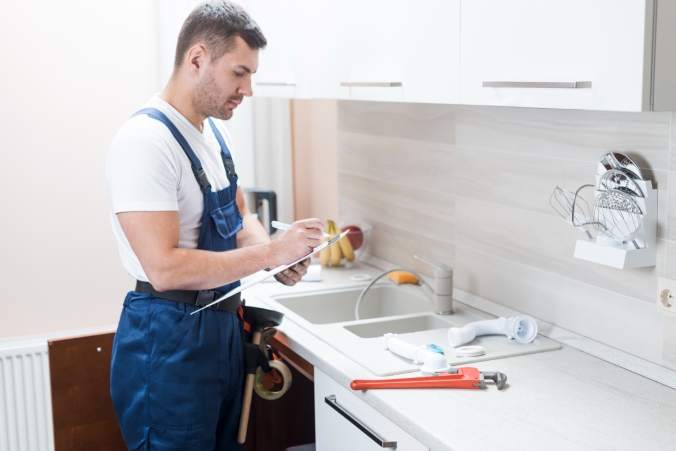
The pop up drain is definitely the preferred drain type for most of us, when it comes to our bathroom faucet. Believe it or not, but you do not need to be an expert on plumbing to learn how to install a bathroom faucet with pop up drain. Gathering a few simple materials together, you can complete the project in hardly any time at all:
• Wet/dry shop vac
• Pliers
• Plumber in Los Angeles, CA putty
• Bucket
• Pop-up drain assembly
At this point, you’re now ready to install your pop up drain.
Professional plumbers can handle installing a bathroom faucet with pop-up drain, or just installing the pop-up drain itself. Before you go in that direction, consider these steps:
• Start by removing any extra water from your sink, cleaning up the area in general. Dependent upon how much standing water you have, you can use a cup, or you can break out your wet/dry shop vac. Have a pan or bucket set up under your sink.
• You’re now going to remove the original drain by finding the pop-up lift rod with the drain assembly, which you will find under your sink. Loosening the lock nut with your pliers, start pushing on your assembly, wiggling things around until you’ve loosened everything up. Residual water should come out at this point. Unscrew your pop-up ring at the top of your sink, which should cause your pop-up assembly to just come out from the bottom.
• Removing any old caulk/putty from your drain hole, you will have putty placed around the bottom of your chrome ring along the top of your new flange.
• Set up a pipe joint putty for the rubber washer of your bottom assembly. You will now start pushing your bottom assembly up along the bottom of your sink. Do this until the rubber gasket creates a good seal.
• Screw your top flange in to your bottom assembly, which you should be able to find at the top of your sink. After tightening your lock nut on your bottom assembly, clean up any extra putty that comes out with your rag.
• Put your stopper into the top of your drain, making sure your holes are facing the rear of your sink. Look for a ball and rod on your stopper unit, and thread it into your pipe. You may need to tighten the nut, but you may also just have to move your stopper around, until it connects with your rod.
• Feed your lever through your hole in the sink, connecting your horizontal rod with your vertical lever.
A kitchen stays busy all day. When something slows down the flow of…
A good look inside a drain line tells you the truth faster than…
A sewer line problem interrupts daily life quickly. Rooter Guard sees this…
A plumbing system reaches a point where repairs stop making sense. Many homeowners…
A dead disposal can bring a busy kitchen to a stop. When that…

Water pressure can make or break your plumbing experience… almost literally. Low water pressure can make washing pots and pans a nightmare, and high water pressure can push water through joints and crevices before causing a burst pipe. Water pressure problems are sneaky and often start small, but they usually…
Learn More


