Menu
Call This Thursday Get $50 Off Today
24 Hour Services
7 Days a Week
Call This Thursday Get $50 Off Today
24 Hour Services
7 Days a Week

Installing a shower base on concrete floor will eliminate leaks that can sometimes happen when you least expect it. This setting can be easier said than done, but here are some detailed instructions that should help you out.
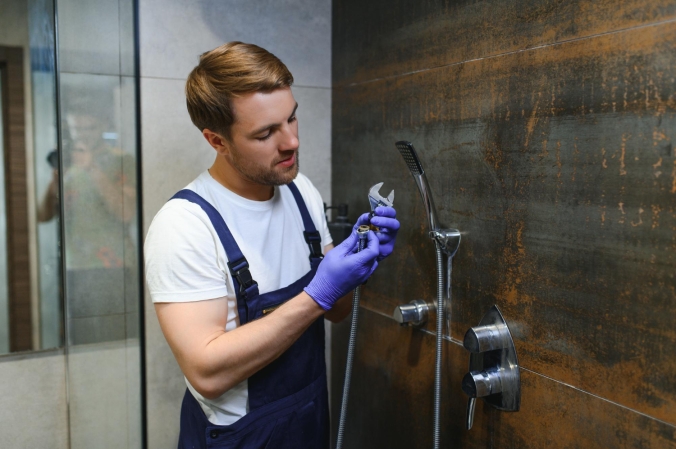
Fiberglass type of stall should work just fine in this type of setting. You can notice that most drains are already have existing pipes that you can see above the floor. If not, you can always create your own line to facilitate the drainage.
The drainpipes can exist about 2 inches in length above the concrete. If you notice that it is not, just break the concrete and extend the pipe. Likewise, you need to have at least 1-1/2-inch space between the concrete and the pipe so that you can install the drain assembly successfully. If you notice that it isn’t visible, try to chisel out the concrete just enough to acquire the distance you need around the pipe.
The assembly should lock tightly onto the pipe and should clamp to the shower base’s edge. This will create a leak-proof seal to avoid hassles when using the shower area. After framing the walls for fitting the shower bay, you can now lay it on its back as you install the drain. Thus, you should use a leak-proof drain assembly referred to as a no-caulk shower drain.
Make sure that you have rolled out a coil of putty so that you can wrap it below the drainage basket flange. This should be about a pencil’s diameter which you can purchase at hardware stores.
You should then hold the drain basket by positioning it in the drain hole, slide in the washers, thread on, and make sure you hand-tighten the ring of the exterior setting. You can use a huge slip-joint pliers until it is in place firmly.
Try to lower the basket assembly and shower bay above the drainpipe. Just mark the pipe in order to get the ¾-in measurement under the drain basket flange.
After doing that, you can now lift the shower bay out so that you can cut the drainpipe to the specific length. Thus, you can set back the basket assembly and the shower bay on top of the pipe. You can then slide the gasket over the pipe and push it down that should sit against the lid below the drain basket. Just tap the caulking gasket in place using a hammer and a piece of wood.
Thread on and tighten the caulking nut to compress the gasket and to seal the pipe. You can use a slotted bar tool which comes with the assembly. Hand-tighten the slot of the bar by sticking a screwdriver’s flat blade into it.
The perforated drain cover should be snapped on after performing the previous instructions.
Just make sure that you have prepared a set of tools before doing this do-it-yourself project. The hand-tools that you can use to complete this project include a hammer, slip-joint pliers, hacksaw, and screwdriver with flat-blade tip.
Plumbing Services
A kitchen stays busy all day. When something slows down the flow of…
A good look inside a drain line tells you the truth faster than…
A sewer line problem interrupts daily life quickly. Rooter Guard sees this…
A plumbing system reaches a point where repairs stop making sense. Many homeowners…
A dead disposal can bring a busy kitchen to a stop. When that…

Water pressure can make or break your plumbing experience… almost literally. Low water pressure can make washing pots and pans a nightmare, and high water pressure can push water through joints and crevices before causing a burst pipe. Water pressure problems are sneaky and often start small, but they usually…
Learn More


