Menu
Call This Thursday Get $50 Off Today
24 Hour Services
7 Days a Week
Call This Thursday Get $50 Off Today
24 Hour Services
7 Days a Week

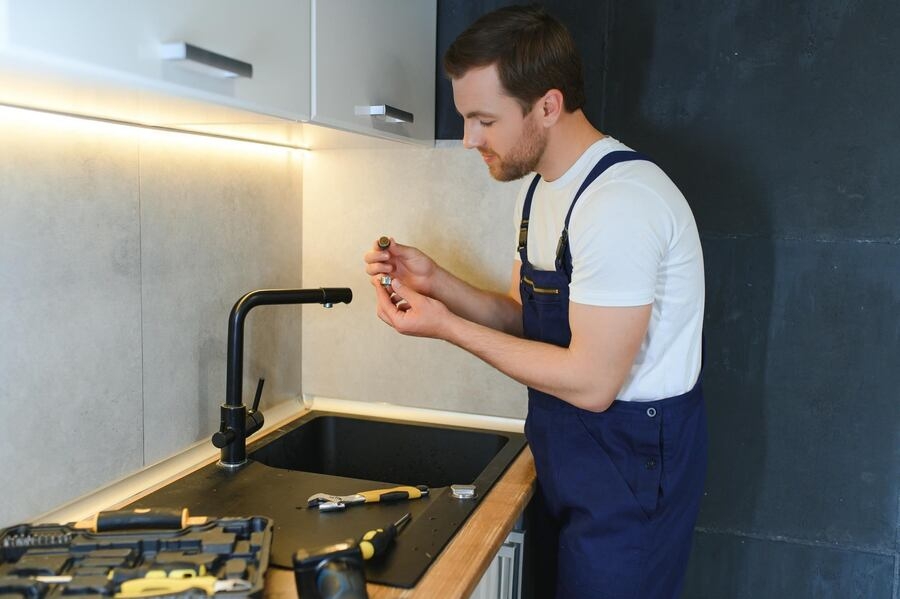
It is not surprising to end up with chips, scratches or stains on your porcelain sink because they are subject to wear and tear on a daily basis. Porcelain fixtures in the bathroom or kitchen are meant to last a lifetime and can be quite costly to replace. So instead of buying a new sink, make it look as good as new instead through a DIY refinishing project.
1. Use a soft rag and the TSP (or a more eco-friendly substitute) to clean the sink. This will get rid of the scum, dirt, and grime and will make sure the epoxy will stick fast.
2. Get your hand sander and attach the medium-grit sandpaper to the clamps. Thoroughly sand the entire surface of the sink, including the edges, to smooth out small chips and scratches. This rougher surface will also help with making sure the epoxy adheres.
3. Use the fine-grit sandpaper to further smooth out the surface.
4. Get rid of the dust and debris in the sink using a damp cloth and allow to dry.
5. Apply a thin coat of the bonding agent evenly using a rag and let it dry for 5 to 10 minutes.
6. Evenly apply the epoxy primer with the paintbrush. Just apply a light coating of the primer and brush in the same direction so the strokes aren’t visible. Leave it for 15 minutes to dry.
7. Repeat step 3 and 4, but this time allow the sink to dry for 15 minutes after cleaning with a damp cloth.
8. Apply a thin layer of acrylic topcoat and make sure to brush in the same direction. Allow this first coating to dry.
9. Brush on two more thin layers of acrylic topcoat. Make sure you allow each coat to dry before applying another layer.
10. Leave the sink to dry for at least 24 hours and do not allow anyone to use it during that time.
It is also advised to avoid using your newly refinished sink heavily for the next 5 days to achieve the best results. If you are not too confident yet with your DIY skills, then don’t hesitate to call professionals. It’s better to get expert help rather than worsening the condition of your porcelain sink in an attempt to refinish it on your own.
A kitchen stays busy all day. When something slows down the flow of…
A good look inside a drain line tells you the truth faster than…
A sewer line problem interrupts daily life quickly. Rooter Guard sees this…
A plumbing system reaches a point where repairs stop making sense. Many homeowners…
A dead disposal can bring a busy kitchen to a stop. When that…

Water pressure can make or break your plumbing experience… almost literally. Low water pressure can make washing pots and pans a nightmare, and high water pressure can push water through joints and crevices before causing a burst pipe. Water pressure problems are sneaky and often start small, but they usually…
Learn More


