Menu
Call This Thursday Get $50 Off Today
24 Hour Services
7 Days a Week
Call This Thursday Get $50 Off Today
24 Hour Services
7 Days a Week

The task of replacing an old shower pan can be done in no time if you have the skills and materials available. Here are a few tips on how to replace the shower pan in your bathroom.
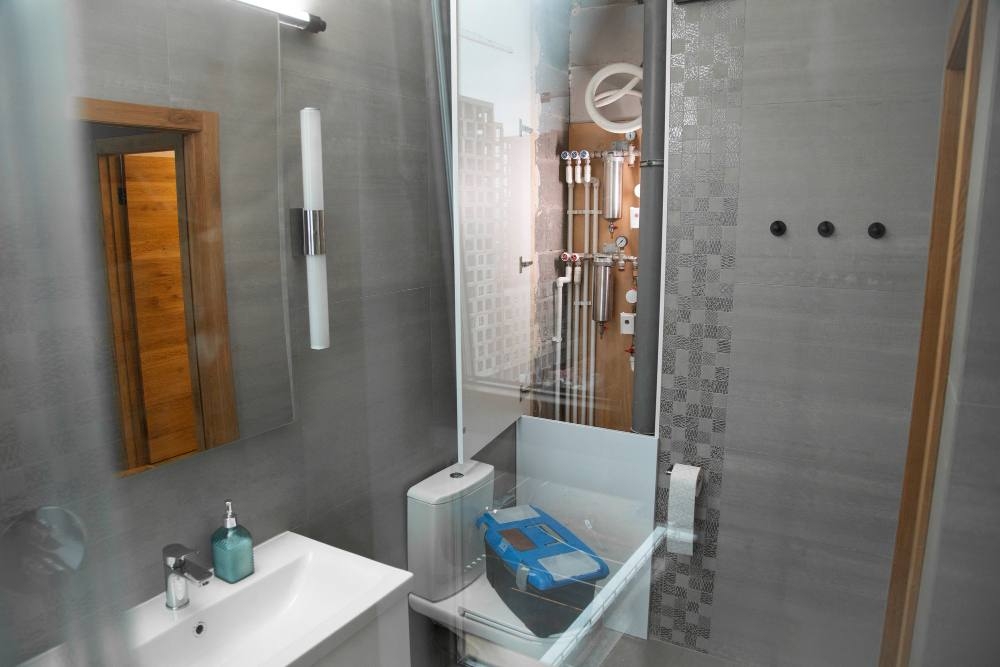
It is important to take out the acrylic shower surround using a reciprocating saw. This should be done all over the place in which it will be easier to remove the surround.
You should also remove the drainpipe by sawing through it as it is connected to the old shower pan. Then, remove the shower pan accordingly.
Take note that the new shower pan must fit the studs, when setting it up. Also, it is necessary to build out some studs at about half an inch of plywood strips so that any obstructions from the pan can be cleared.
Notice any overlaps then mark it down, together with the drain hole of the shower pan onto the subfloor. After fitting it, remove the shower pan.
Try to use a chisel and hammer to chop out any tile that should extend from under the pan. Take notice of the strainer that should be attached to the drain hole. This is a two-piece set in which the other is noticeably a gasket component. Try to use vacuum cleaner to free the subfloor of debris and dust particles.
It is important to level the floor so that you can set up the shower pan that should work just the way it is intended to be. Try to use a leveling tool for this job. If possible, you can install shims around the corners that require leveling.
Fit the shower pan once again onto the subfloor where you have measured earlier. Check if the pan is indeed leveled to the sides. You have to secure the shower pan onto the floor if you think it is already in place.
You should use galvanized screws to secure the shower pan. But, make sure to bore some pilot holes first if necessary around the surround.
At this point, you are going to connect a new drainpipe into the strainer of the shower pan using the compression gasket. Thus, you must use a rubber mallet so that it won’t crack the installation, particularly the drainpipe. Tap the pipe flush and the gasket with the shower floor using the mallet. Don’t forget to install the screen on top of the strainer into the drain hole.
After completing the initial installation of the shower pan, you can now install a new surround by covering the walls using a backer-board. You can also use tiles as well as other finished materials if available.
Make sure that you have already all the materials prepared before going with this method so that everything will work just fine. When in doubt, you can always ask the assistance of a friend or a professional to ensure nothing goes wrong.
A kitchen stays busy all day. When something slows down the flow of…
A good look inside a drain line tells you the truth faster than…
A sewer line problem interrupts daily life quickly. Rooter Guard sees this…
A plumbing system reaches a point where repairs stop making sense. Many homeowners…
A dead disposal can bring a busy kitchen to a stop. When that…

Water pressure can make or break your plumbing experience… almost literally. Low water pressure can make washing pots and pans a nightmare, and high water pressure can push water through joints and crevices before causing a burst pipe. Water pressure problems are sneaky and often start small, but they usually…
Learn More


