Menu
Call This Thursday Get $50 Off Today
24 Hour Services
7 Days a Week
Call This Thursday Get $50 Off Today
24 Hour Services
7 Days a Week

An outdoor or outside faucet leaking may go unnoticed for a while and it may not raise the same concerns as an indoor faucet leaking. True, the outdoor leaks pose less of a threat to your home than indoor leaks but you would still be wasting water and spending more money. Major leaks will pose a risk to your property and indoor fixtures as well if moisture manages to seep into the walls and foundation.
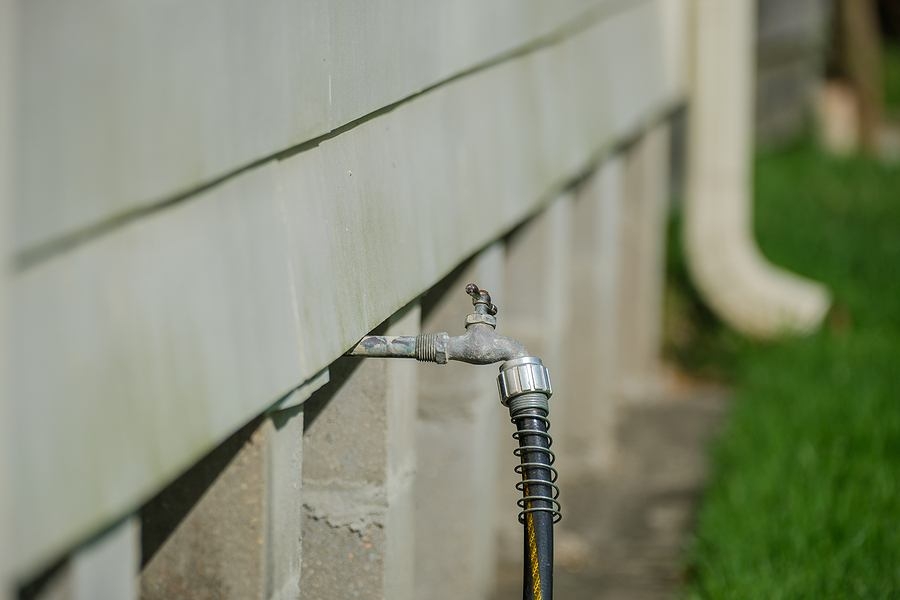
Outside faucet leaking is relatively easier to resolve. The leaks usually happen due to two reasons or at two distinct parts. It would be either the handle or the spout. It could be both. You can tighten the handle by using a wrench. Just work on the packing nut if it is loosened and see if the leak is fixed. Else, you may have to check the valve stem inside the faucet. To check the spout, just remove the valve stem and check if the spout is what’s causing the outside faucet leaking.
In some cases, especially with valve stems that are marketed as front free, the leaks and their causes can be complicated. For instance, the valve stem may be soldered into the supply line. Most stems are screwed in but not frost-free stems. You would need to hire a plumber for such outside faucet leaking problems. Here is a step by step guide to fix an outside faucet leak.
You will have the main shut off valve in the crawlspace or in the basement. Turn the faucet on to let the accumulated water in the line drain out. Take a screwdriver, remove the screw that holds the handle and then remove the handle. You will get to the packing nut behind the handle. Take a wrench and turn the packing nut counterclockwise. As you remove the packing nut you will get access to the valve assembly. Pull it out in sliding motion.
You may find a worn-out washer behind the packing nut. Replacing this may fix the leak. Once you take out the packing nut and the valve stem assembly, check the washer. You would be able to spot if it is damaged beyond functionality. Get a new washer and replace the old one.
Simply unscrew the washer, get an identical new one, place it and screw it back in. Tighten the washer. A loosely installed washer will also cause leaks. Slide the valve assembly back, screw the packing nut, tighten the valve stem and reinstall the handle. Make sure all screws and covers are properly tightened.
A kitchen stays busy all day. When something slows down the flow of…
A good look inside a drain line tells you the truth faster than…
A sewer line problem interrupts daily life quickly. Rooter Guard sees this…
A plumbing system reaches a point where repairs stop making sense. Many homeowners…
A dead disposal can bring a busy kitchen to a stop. When that…

Water pressure can make or break your plumbing experience… almost literally. Low water pressure can make washing pots and pans a nightmare, and high water pressure can push water through joints and crevices before causing a burst pipe. Water pressure problems are sneaky and often start small, but they usually…
Learn More


