Menu
Call This Thursday Get $50 Off Today
24 Hour Services
7 Days a Week
Call This Thursday Get $50 Off Today
24 Hour Services
7 Days a Week

A slow and expanding damp spot on your downstairs ceiling could mean that the plumbing from the toilet on the upper floor is leaking. It could be the base or the connection between the tank and the bowl. This type of leak could spell disaster in your home and needs quick fixing.
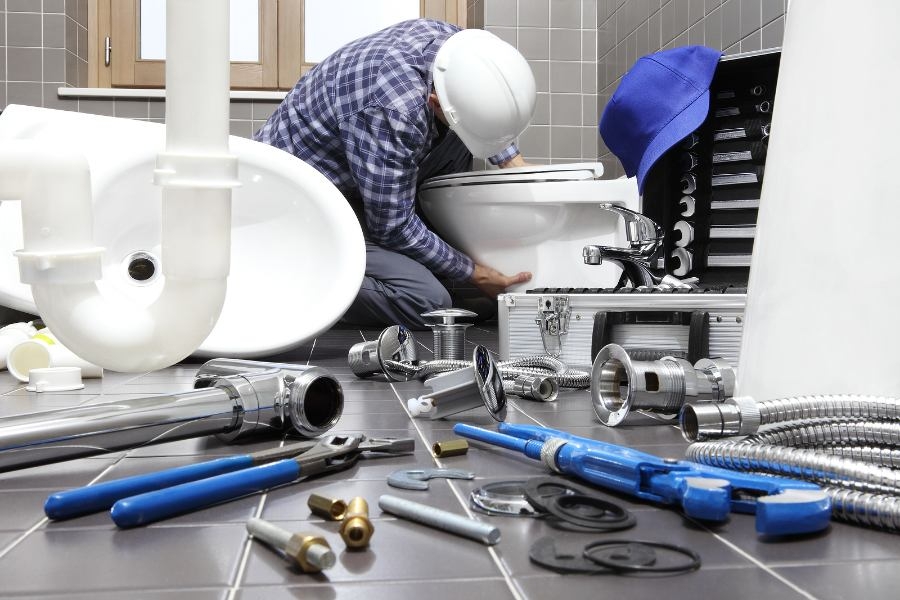
When the toilet leaks through the ceiling then, the wax ring that provides a watertight seal between your toilet and the floor could have developed a gap, and every time you flush the toilet, water collects on the ceiling of the bottom floor. Below is the procedure for fixing a leaking wax ring.
Turn off the water supply to the toilet, drain the water in the toilet tank and the bowl, and get set to fix the leak. Ensure you have an adjustable wrench and a scrapper, as they will be necessary for the job.
Pry off the caps that cover the tee bolts that hold the toilet in place and try tightening them if they spin or are stuck; they will need replacement. With an adjustable wrench, remove the tee bolts.
Carefully lift the toilet keeping it parallel to the floor and place it on its side. The wax ring stays compressed, and an irregular groove will cause the leak. Do not put the toilet directly on the floor rather use old cardboard or blanket.
While wearing a pair of disposable gloves, scrape off the old wax ring from the base of the toilet bowl and the anchorage flange on the floor. Clean of any remaining wax ring with a rag dipped in mineral spirits. Ensure to cover the sewer drain with rags to prevent foul smells from entering your house from the septic tank.
Press the new wax ring into place, which is the raised ring at the bottom of the toilet bowl, being careful not to press it out of shape. Lift the toilet and put it directly onto the drainpipe ensuring the tee bolts go through the holes on the base of the bowl. Wiggle the toilet from left to right to make sure that the wax ring forms a watertight seal. Attach the washers and nuts and tighten them to hold the toilet in place without movement on either side.
Replace the caps and attach the water supply. Flush the toilet and if there are no leaks, apply caulk to the base of the toilet where it meets the floor.
After the repair of the leak, apply a new coat of paint on the ceiling directly below the toilet. It will be unwise to leave the wet spot as it were.
A kitchen stays busy all day. When something slows down the flow of…
A good look inside a drain line tells you the truth faster than…
A sewer line problem interrupts daily life quickly. Rooter Guard sees this…
A plumbing system reaches a point where repairs stop making sense. Many homeowners…
A dead disposal can bring a busy kitchen to a stop. When that…

Water pressure can make or break your plumbing experience… almost literally. Low water pressure can make washing pots and pans a nightmare, and high water pressure can push water through joints and crevices before causing a burst pipe. Water pressure problems are sneaky and often start small, but they usually…
Learn More


