Menu
Call This Wednesday Get $50 Off Today
24 Hour Services
7 Days a Week
Call This Wednesday Get $50 Off Today
24 Hour Services
7 Days a Week

You have topped off the air in the tires of your car, but the next day, you have noticed that one of them has gone low again. The first thing that would come to mind is that it may have a hole in it, but before you take it to the shop, remember that the problem can also be caused by a valve stem leak. Here is a guide to fix it yourself easily.
Of course, you need to confirm whether your valve stem is leaking or not by rubbing a mixture of water and dish soap over the uncapped valve stem with your finger. If you see bubbles starting to form, then it indicates that air is leaking from the valve.
You need to secure a couple of tools for this repair work. These are the valve stem tool (shaped like a “+” symbol) and a replacement valve core, which are both inexpensive. Both of these items should be readily available from any auto supply shop in your area.
After determining that the valve is bad, it is time to remove and deflate the tire. While it is possible to perform this repair work with the tire attached to the car, it is better to remove it because it will be easier, not to mention that it is safer. Once the tire is removed and deflated, use the valve stem tool in order to unscrew the valve, and then dispose of the old core. Take note that you need to completely deflate the tire before removing the old core, as any pressure inside it can cause the core to shoot out and can potentially cause harm to any part of your body. It is also wise to wear safety glasses.
Clean the valve stem using the tapered end of the valve core tool and make sure to keep its opening clean of dirt and debris. If the old core threads show any sign of corrosion, then clean the valve stem’s interior threads with the tap end of the valve core tool. Also, always use a valve stem cap to keep out the dirt, which can cause the problem to begin with. Remove any obstructions from the area around the valve and inside the tire.
Use the valve stem tool to do this step. Use the same end of the tool you used to remove the old core to install the new one. Tighten by hand but be sure not to over tighten it or it can get damaged and force the new valve to leak. After installation, re-inflate your tire and replace the valve cap.
In just five simple steps, and only minutes of your time, you can successfully fix a valve stem leak. Remember that some tire dealers would try to sell you new tires just because of this small problem, potentially costing you some money. So, it is best to know how to work on this kind of thing.
Plumbing Services

Plumber in Downey, CA

Plumbing Service Provider
A kitchen stays busy all day. When something slows down the flow of…
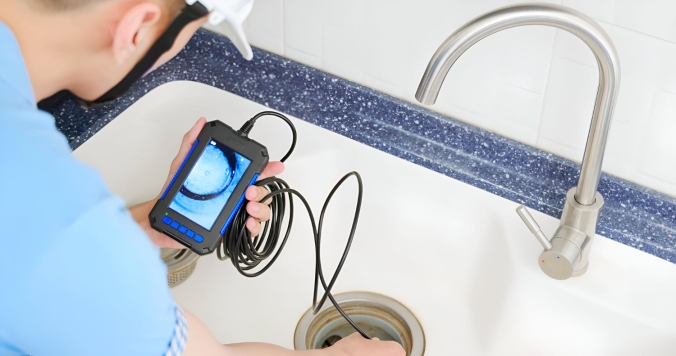
A good look inside a drain line tells you the truth faster than…
A sewer line problem interrupts daily life quickly. Rooter Guard sees this…
A plumbing system reaches a point where repairs stop making sense. Many homeowners…
A dead disposal can bring a busy kitchen to a stop. When that…

Gas appliances are popular for good reason: They heat quickly, cost less to run, and give you better control. With that said, they also come with higher installation needs and stricter safety rules. When something goes wrong with a gas line, it’s not just an inconvenience… it can be deadly.…
Learn More