Menu
Call This Wednesday Get $50 Off Today
24 Hour Services
7 Days a Week
Call This Wednesday Get $50 Off Today
24 Hour Services
7 Days a Week

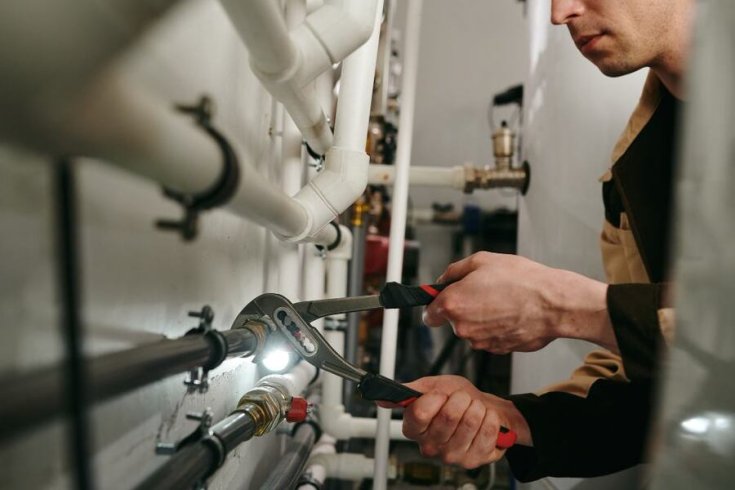
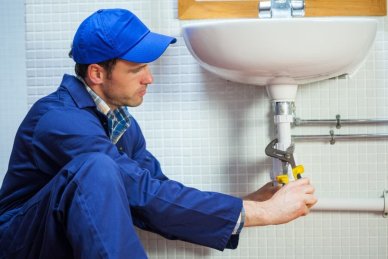
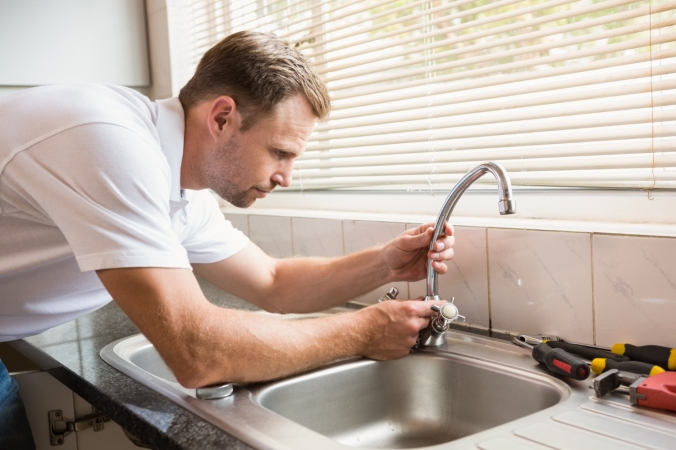
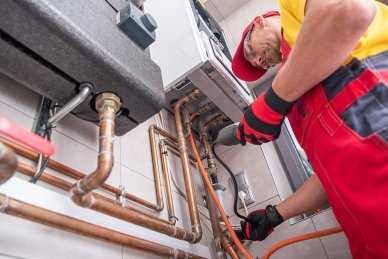
Utility sinks have many uses in the home, in garages and laundry rooms, among others. Some homeowners connect them to their dishwashers or washing machines to make household chores easier. For people who are into gardening, a utility sink outside the home can be used to water plants that need to be soaked. A utility sink is also called a laundry sink since it is commonly found near washing machines. Installation can be a DIY project, although it needs some plumbing and handyman skills. Here is a step-by-step guide to installing a utility sink:
Ensure that the main water supply is turned off of shut off before any work is done. See to it that the utility sink to be installed is near the hot and cold water pipes as well as the drain pipe. Use wire cutter to remove the burrs from the end of the stub pipes and cut the existing rain pipe to give way to the installation of a ¾” double compression fitting. Measure both the existing drain pipe and both hot and cold water pipes.
These hookups will be responsible to supply water and drainage to the utility sink. To do so, cut the drain pipe using a hand saw and the water pipes with a tube cutter. This is because these pipes are made of copper material. Next, using a film of primer and glue, attach the drain pipe which is of PVC material with the “Y” fitting. Also, fit a PVC trap to the newly installed “Y” fitting. Use a soldering iron, flux and solder to secure the attachment of the copper pipes to the fittings.
Place the sink on top of the counter and ensure that you use a sealant and line it on the edge where the sink will be set. Thread the faucet spot into the base of the faucet and secure it with the retaining nuts. Fit the base of the faucet and tighten the jamb nuts to secure the fixture. Install the sink tailpiece on top of the PVC trap and screw the compression nut tightly to secure the trap. This is where you need to use the plumber’s putty and apply it generously at the bottom at the faucet that you have also installed. If the sink has legs, keep it secure by drilling the floor where the anchor brackets for the legs will be positioned.
After the sink is secure, the next step is to connect the flexible hoses to both the hot and cold water T-fittings and to the faucet. Ensure no leaks are present by turning on the valve and check for possible leaks.
Plumbing Service Provider
Contact
A kitchen stays busy all day. When something slows down the flow of…
A good look inside a drain line tells you the truth faster than…
A sewer line problem interrupts daily life quickly. Rooter Guard sees this…
A plumbing system reaches a point where repairs stop making sense. Many homeowners…
A dead disposal can bring a busy kitchen to a stop. When that…
Gas appliances are popular for good reason: They heat quickly, cost less to run, and give you better control. With that said, they also come with higher installation needs and stricter safety rules. When something goes wrong with a gas line, it’s not just an inconvenience… it can be deadly.…
Learn More