Menu
Call This Wednesday Get $50 Off Today
24 Hour Services
7 Days a Week
Call This Wednesday Get $50 Off Today
24 Hour Services
7 Days a Week

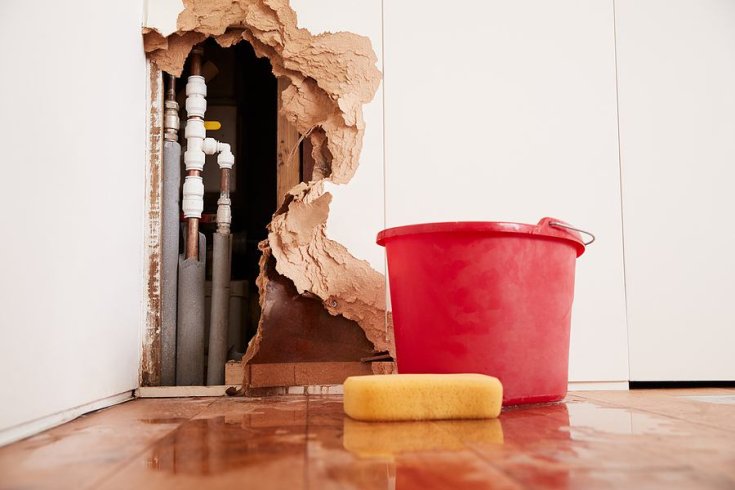
A leaking shower faucet is a recipe for irritation and will hike your water and electricity bill in no time. The cause of the leak in your shower faucet could be as a result of worn inner seals, or the inner parts of your shower faucet have become corroded. Hard water deposits also cause the shower faucet to clog leading up to the shower faucet leaking.

The gaskets and the O-rubber rings used for sealing the connections between the moving metal parts will get worn with time. Water will leak from the wear in the parts. Do not overtighten the faucet least you do more harm than good. The steps below will guide you in repairing and fixing a leaky shower faucet.
1. First of all, if you use a two-handle faucet, feel the water dripping from the showerhead if it is hot or cold. This will let you know which faucet has a problem. Turn off the water supply to the shower faucet and embark on disassembly.
2. Remove the handle first and depending on the model of your shower faucet, different methods can apply. The older and simple designs have an exposed screw at the center front of the faucet handle. Newer models come designed that the screw is not visible since it has a cover cap. Use a thin blade or flat head screwdriver to remove the cap and access the screw.
3. Wiggle the handle while being careful not to break it and remove it. Sometimes the corrosion and hard water deposits will make it a hard job of removing the faucet and so, use a faucet handle remover or improvise with a screwdriver.
4. Next, remove the sleeve and trim which fits over the faucet’s stem. For this task, you will need a plumber’s deep socket to remove the stem from the faucet’s body. Fit the deep socket over the hex nut and unscrew it in an anticlockwise direction.
5. Replace all the worn out o-rings, washers, flat washer, and the seals. Assemble the faucet stem and lubricate it with plumber’s grease. Place the stem into the faucet’s body and tighten it.
6. Test if the leak is over by temporarily placing the handle back on and turning on the water. The leak should be gone if all the components of the stem if you have linked the parts well together. Finish off the assembly and use tub caulk to seal the trim to the wall.
Invest in a faucet washer kit to ensure that the next time your shower faucet leaks, you will be well prepared when the leak pops again. The above procedure is replicable for different shower faucet brands.
A kitchen stays busy all day. When something slows down the flow of…
A good look inside a drain line tells you the truth faster than…
A sewer line problem interrupts daily life quickly. Rooter Guard sees this…
A plumbing system reaches a point where repairs stop making sense. Many homeowners…
A dead disposal can bring a busy kitchen to a stop. When that…

Gas appliances are popular for good reason: They heat quickly, cost less to run, and give you better control. With that said, they also come with higher installation needs and stricter safety rules. When something goes wrong with a gas line, it’s not just an inconvenience… it can be deadly.…
Learn More