Menu
Call This Thursday Get $50 Off Today
24 Hour Services
7 Days a Week
Call This Thursday Get $50 Off Today
24 Hour Services
7 Days a Week

The sprinkler system can sometimes cause some leaks as it begins to drip water. If this happens to your place, you have to deal with this early on to avoid any costly escalations. The first thing you need to do is to tighten the unions in which the pipe ends should meet the actual backflow preventer. As it loosens over time, leaks will begin to show up. Likewise, leaks can be caused by pressure on the threads. Sometimes, improper installations can cause this to happen, in which the pipe has not been lined up correctly with the unit.
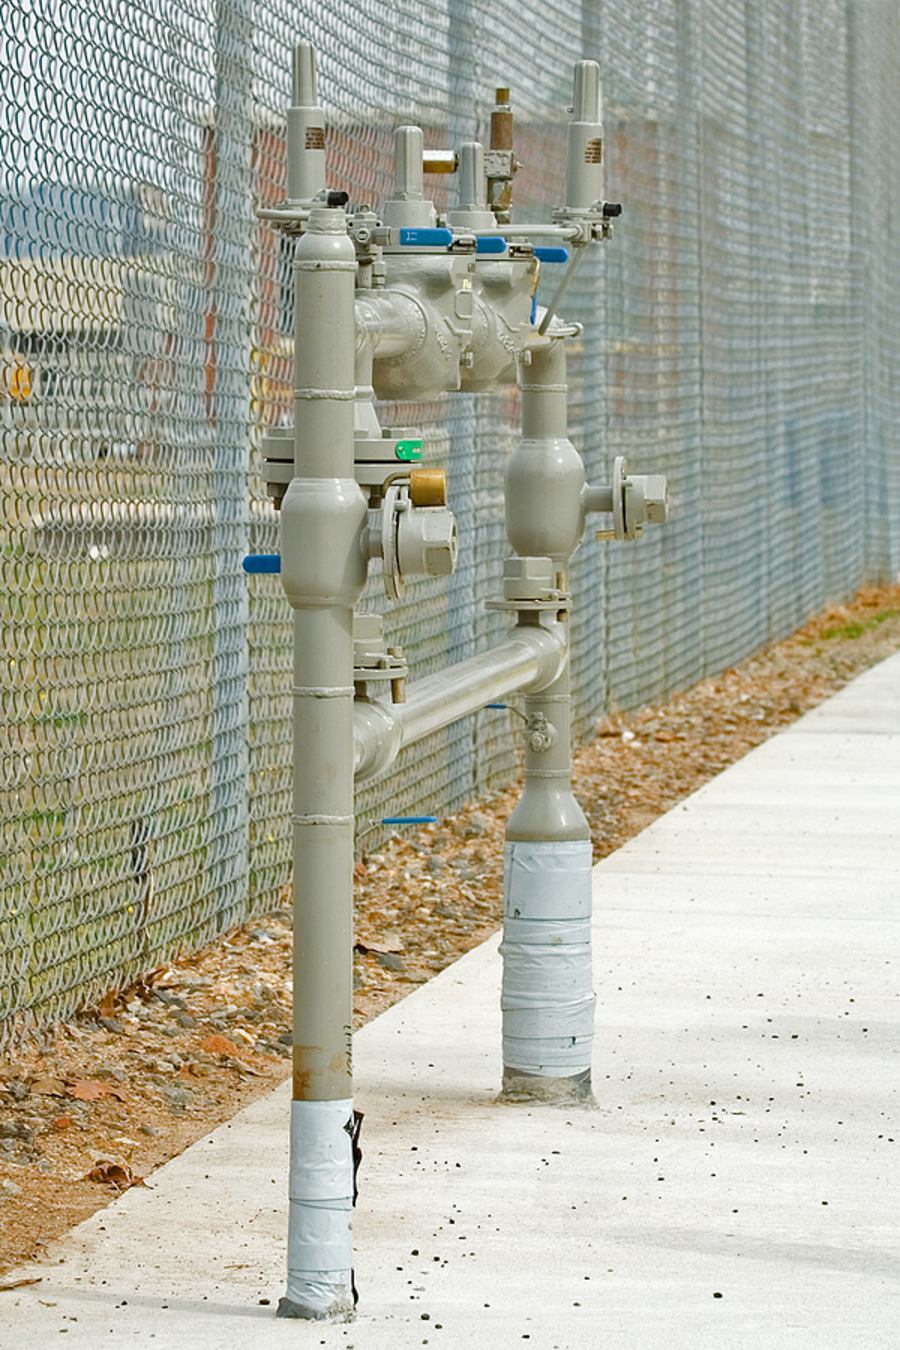
Find the main valve of water supply and turn the ball valve lever. This can be done in a clockwise direction if you are going to shut it off.
A wrench can be used to take off the nut from the bell cover. Just don’t strip the nut when you turn the wrench. Rust can be visible on the nut when leaks are prolonged. You have to slide the bell cover off the valve body.
A bonnet and poppet can be found inside the valve. So, you have to remove the parts from inside the valve body that could be in pieces after steady leaks that could have happened over time.
If there are loose components, try to remove them as they need to be removed out of the interior prior to installing new components. After that, a poppet can be slid on the valve. The bonnet should be put on the poppet.
The bell cover must be slid back to the valve and make sure that it has been leveled above the valve. Likewise, ensure that the bonnet and poppet has been aligned properly. Be careful when tightening the bell cover, particularly if the bonnet and poppet has not been aligned well.
The nut can be installed on top the bell cover. You need to tighten this manually into the valve. But, do this by using your fingers not a hand tool. Pliers or wrench can damage the nut or threads. This will ensure that you can keep the valve in parallel with the pipe.
Upon completing the procedures above, you can safely turn the water supply back on to test it. You also have to activate the sprinkler system, but keep an eye on your backflow device. Ensure that leaks are already gone from the points of connection.
Sometimes, it can be more efficient to replace the whole valve, particularly when the body shows a crack. Repairing tiny parts inside can be a bit time-consuming as well. Notice that when there are cracks on the valve, it can leak through some contaminated objects from the outside, including some waste materials to get into the mix.
A kitchen stays busy all day. When something slows down the flow of…
A good look inside a drain line tells you the truth faster than…
A sewer line problem interrupts daily life quickly. Rooter Guard sees this…
A plumbing system reaches a point where repairs stop making sense. Many homeowners…
A dead disposal can bring a busy kitchen to a stop. When that…
A water softener prevents scale buildup in pipes, extends appliance lifespan, and improves cleaning. There are several incredible benefits that come with installing the right water softening system in your home. But when it goes awry, it can throw a spanner in your routine, waste a lot of waste, and…
Learn More